
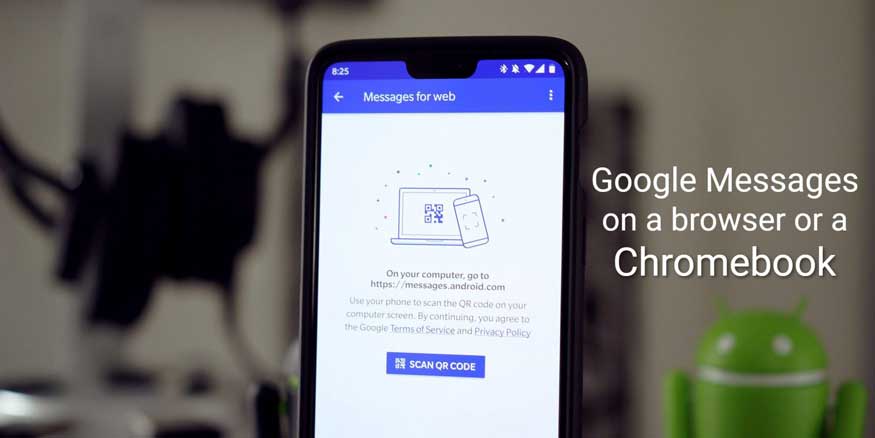
Google Messages is an SMS/instant messaging app from Google. The service was initially released on Android. And back in 2018, Google released a web version of the same, a decision by Google thanks to WhatsApp and Telegram. So in this guide, we’ll tell you how to use Google Messages on Chromebook using a web browser.
Setting up Google Messages on the web is similar to setting up WhatsApp web. But it involves some more setting up, so make sure to stay with us till the end. By the looks of it, Google might still be trying to establish its part in the messaging community. And Google Message web proves to be a smart move from Google. Before we proceed further, make sure you have the following.
Related | How to disable Google Assistant – Android and iOS
Pre-requisites
- Install Google Messages on your smartphone from the Google Play Store.
- Make Google Messages the default app for messaging.
Steps to use Google Messages on Chromebook
You could connect Google Messages to two kinds of devices. A Chromebook or anything other than a Chromebook. We’ll start with the second one as the first one is a bit more involving. But remember that a Chromebook provides the best user experience among both.
From a Browser
As said earlier, setting up Google Messages on the web is very simple.
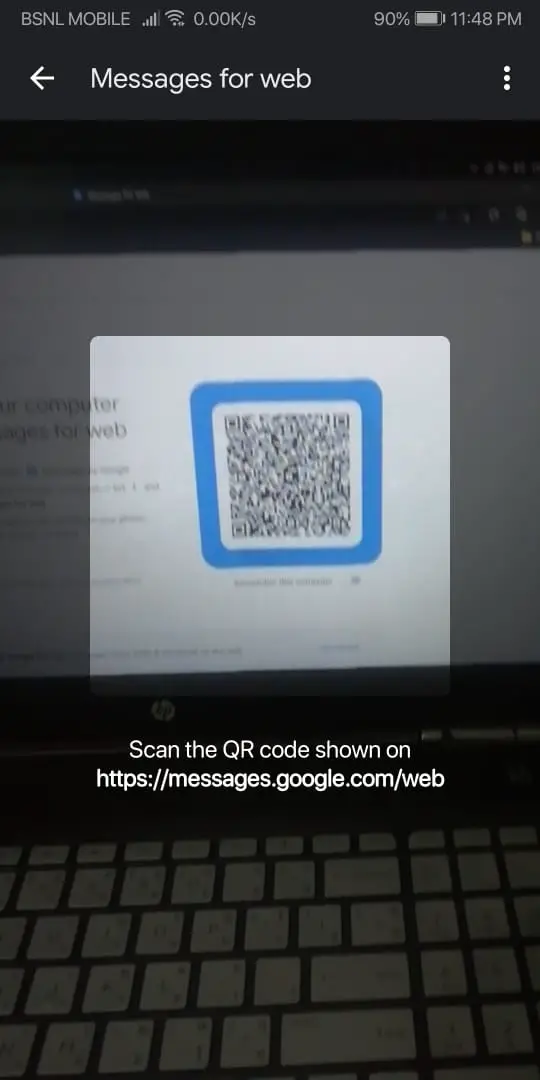
- Go to Messages for web from your PC/Laptop.
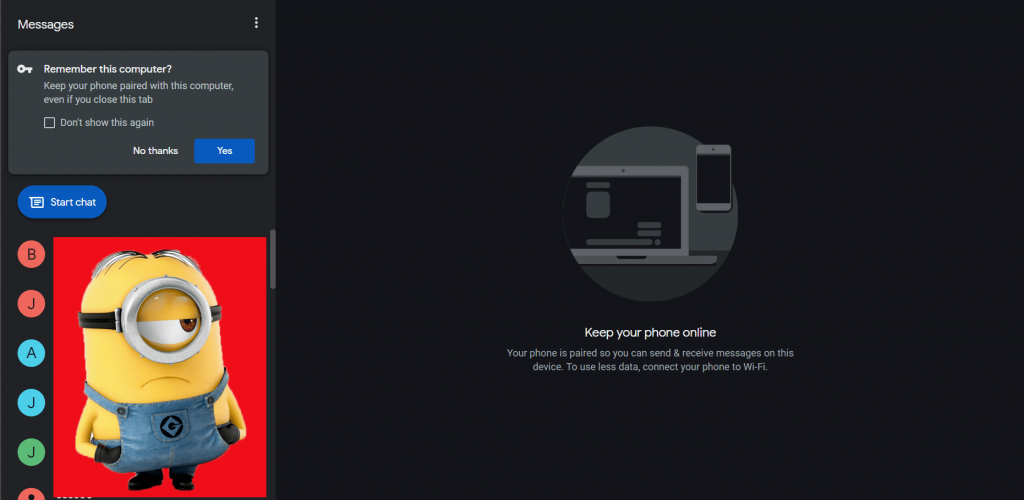
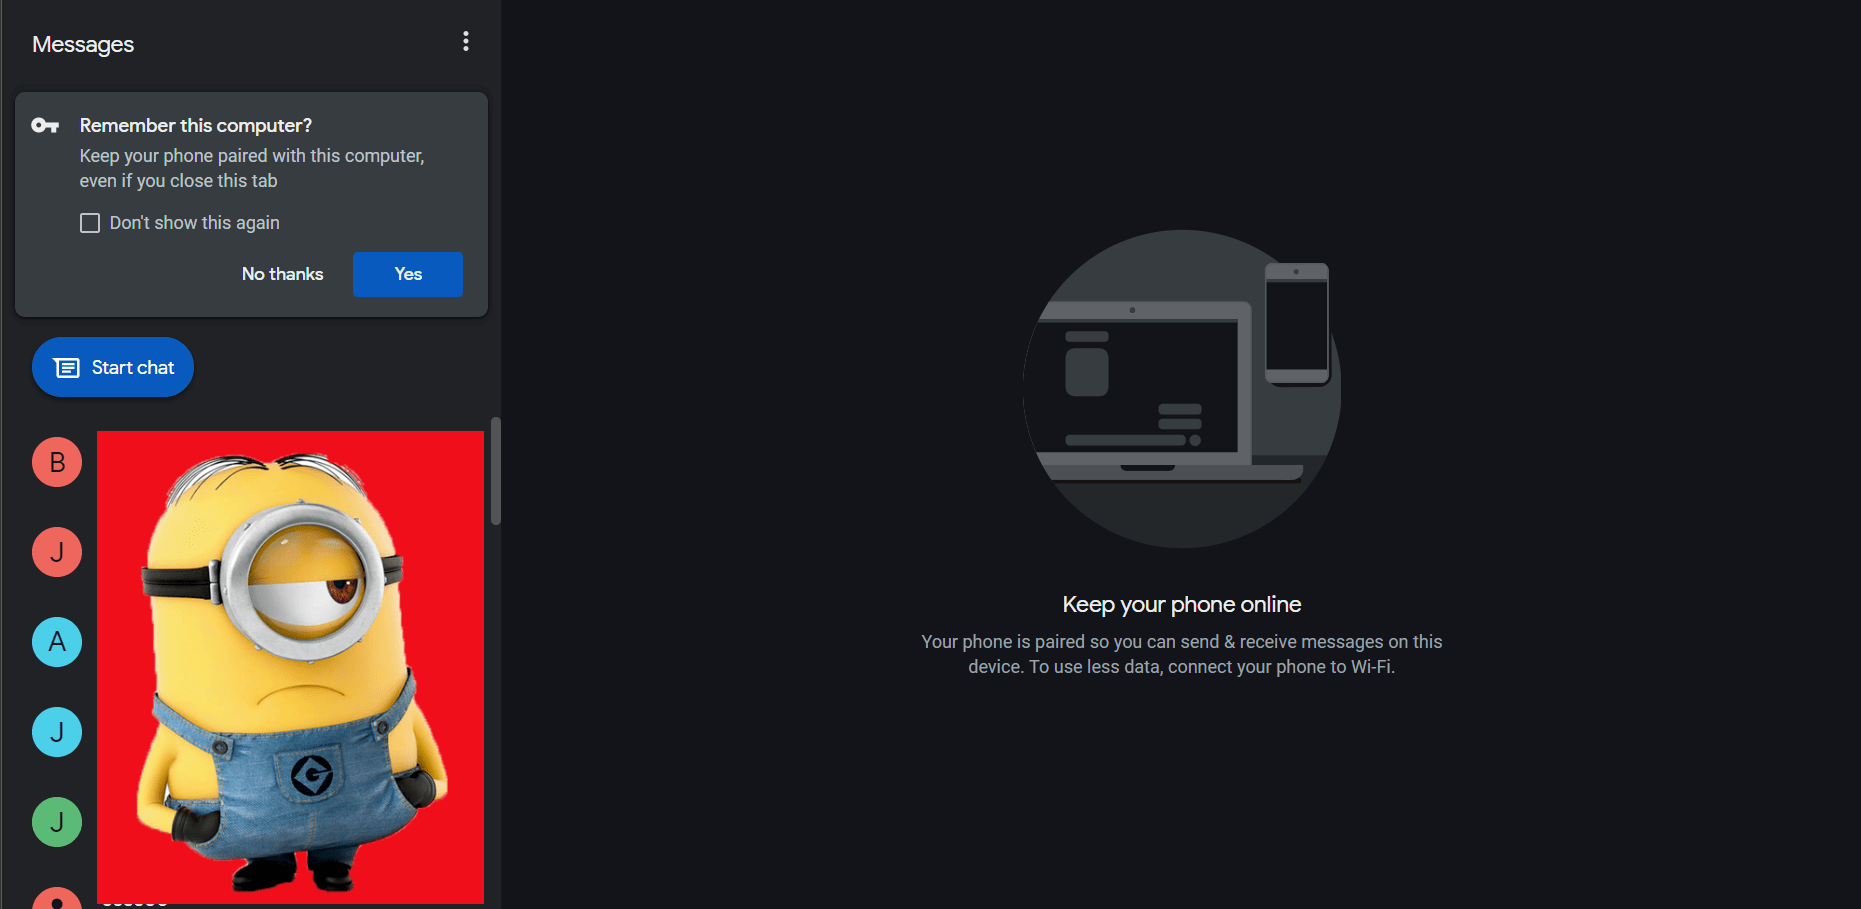
- You’ll see a QR code with the option Remember this computer. Check the radio button if you plan to use it often.
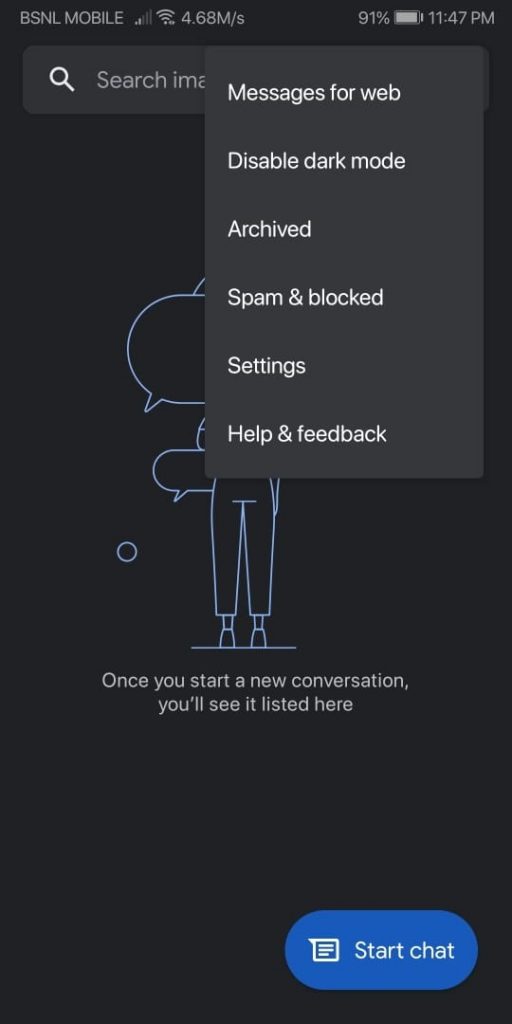
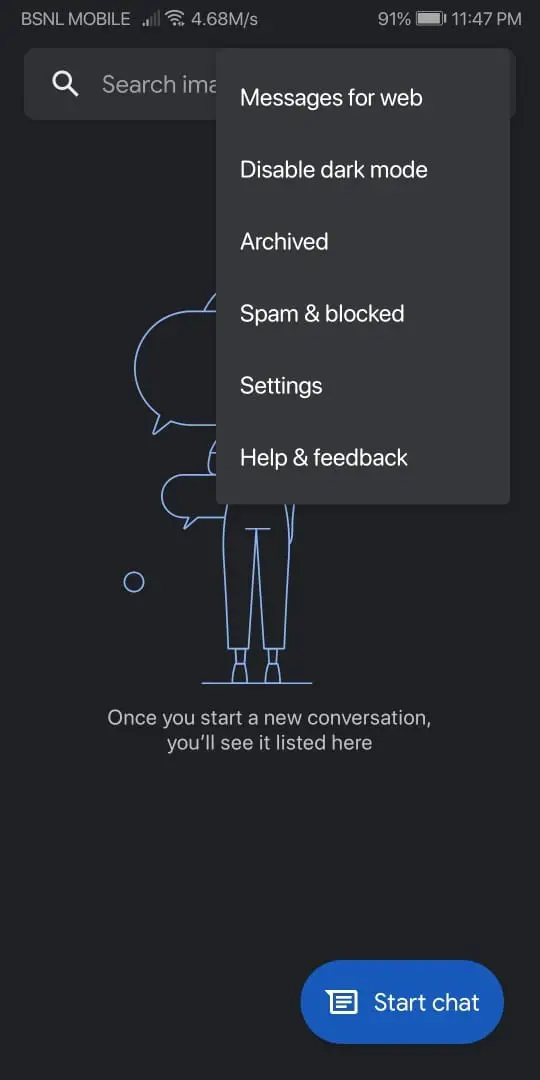
- Now open Messages on your phone. Click on the 3 dots at the top-right corner of the app.
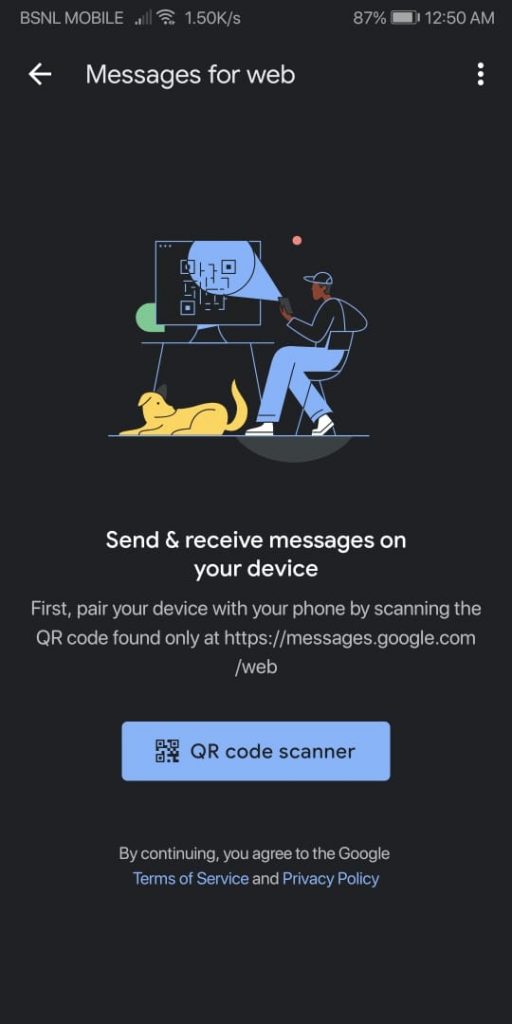
- Click on Messages for web and click on the QR code scanner in the newly opened window.
- Point the scanner to the QR code displayed on the browser. The scanner will now scan the code, and you’ll be able to use the Messages app from your browser.

- Refer to the following screenshots for further guidance.


Unlike WhatsApp, Messages lets the user make video calls from within the web version of the service. You could use the service to send messages through the phone. And yes, it will cost you as per your plan. But it is always a good thing to have the messenger on the PC. This will come in handy while working or on a busy day.
From a Chromebook
You have to connect your smartphone to the Chromebook to unlock the complete experience. If you haven’t done that yet, follow these steps.
- Make sure that you’re signed in to the phone and Chromebook using the same Google Account.
- Open Settings on the Chromebook.
- Go to Connected devices > Android phone and click on Set up.
- Choose the phone you wish to connect with and click on Accept and continue.
- Type in your Google Account password and click on Done.
This should hopefully establish a connection between your smartphone and Chromebook. Now we can set up Messages on the Chromebook.
- Open Messages on your Chromebook from the App Drawer. It can be opened by clicking on the circle at the bottom-left corner.
- Similar to the web, a QR code will be displayed. Here also you choose to Remember this computer to stay signed in.
- Open Messages on your phone and open the QR code scanner the same way we did in the last method.
- Scan the QR code on the Chromebook, and you’ll be able to manage your message using the Messages app on your Chromebook.
- Even if you check to Remember this computer, you’ll be signed out automatically after 14 days of inactivity.
- You could also sign out by clicking on the 3 dots at the top-left corner of the Messages app and choosing Sign out on your Chromebook. You could also do the same from your phone.
Also Read | Best Google Chrome Tab Managers
One could also use Google Messages from the browser of their Chromebook by following the first method.
Messages for the web from Google are great as it lets the user send SMS through their PC/Laptop and connect with friends. We hope you found this guide on How To Use Google Messages on Chromebook helpful. Let us know in the comments if you need any further information.